Key Takeaways
- First Cut Matters: Start with 40-grit Zirconia abrasives for uneven Victorian pine to remove years of lead paint or wax.
- Gap Filling: Use a resin-and-sawdust mix for small gaps; insert timber slivers for structural integrity in larger voids.
- Moisture Control: Ensure floorboards are below 12% moisture content before applying any heritage restoration finish.
- Professional Protection: Bona Traffic HD or Osmo Hardwax Oil are the gold standards for UK domestic durability.
Walking into a classic British townhouse, the first thing that greets you shouldn’t be the draft from the hallway. For many homeowners across the UK, original Victorian pine floorboards are a blessing and a burden. They offer undeniable heritage character, but decades of neglect, layers of lead-based paint, and heavy foot traffic often leave them looking more like a liability than a luxury asset.
The Problem: The ‘Hidden’ Damage Beneath the Varnish
The problem is rarely just cosmetic. Original Victorian timber was often laid as a subfloor, intended to be covered by rugs or linoleum. Over 150 years, these floorboards have suffered from structural shifting, ‘tannin pull’ from improper cleaning, and the accumulation of grit in deep-seated gaps. When you look at your floor and see black edges, splinters, and paint-spattered timber, you aren’t just seeing a dirty floor; you are seeing a material that is losing its structural integrity and its ability to hold heat.
The Agitation: Why Ignoring Your Floorboards Costs You Money
It is easy to push floor restoration down the ‘to-do’ list. However, every winter that passes with unfilled gaps between your boards is a winter of heating bills literally disappearing through the floor. In the UK, drafts from ground-floor timber can account for significant heat loss. Beyond the energy efficiency, every day you walk on exposed, unsealed pine, you are wearing away the actual timber. Unlike oak, pine is a softwood; once you wear past the ‘wear layer’, you are facing a full replacement rather than a simple resand. Furthermore, the aesthetic impact of a tired floor can drag down the value of even the most well-decorated Victorian terrace.
The Solution: A Masterclass in Heritage Restoration
Pro-Tip: The Grit Sequence Secret
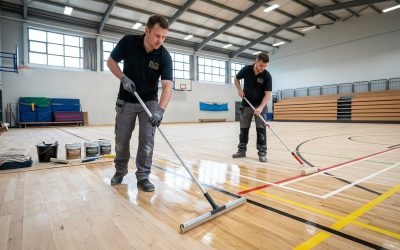
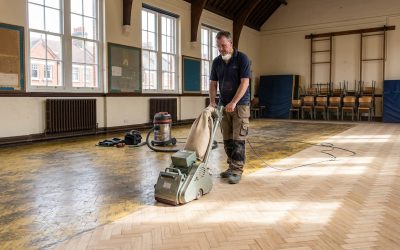
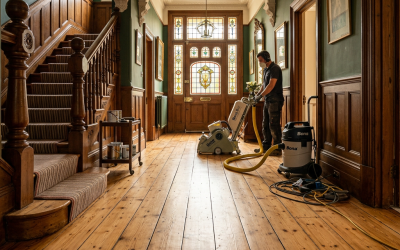
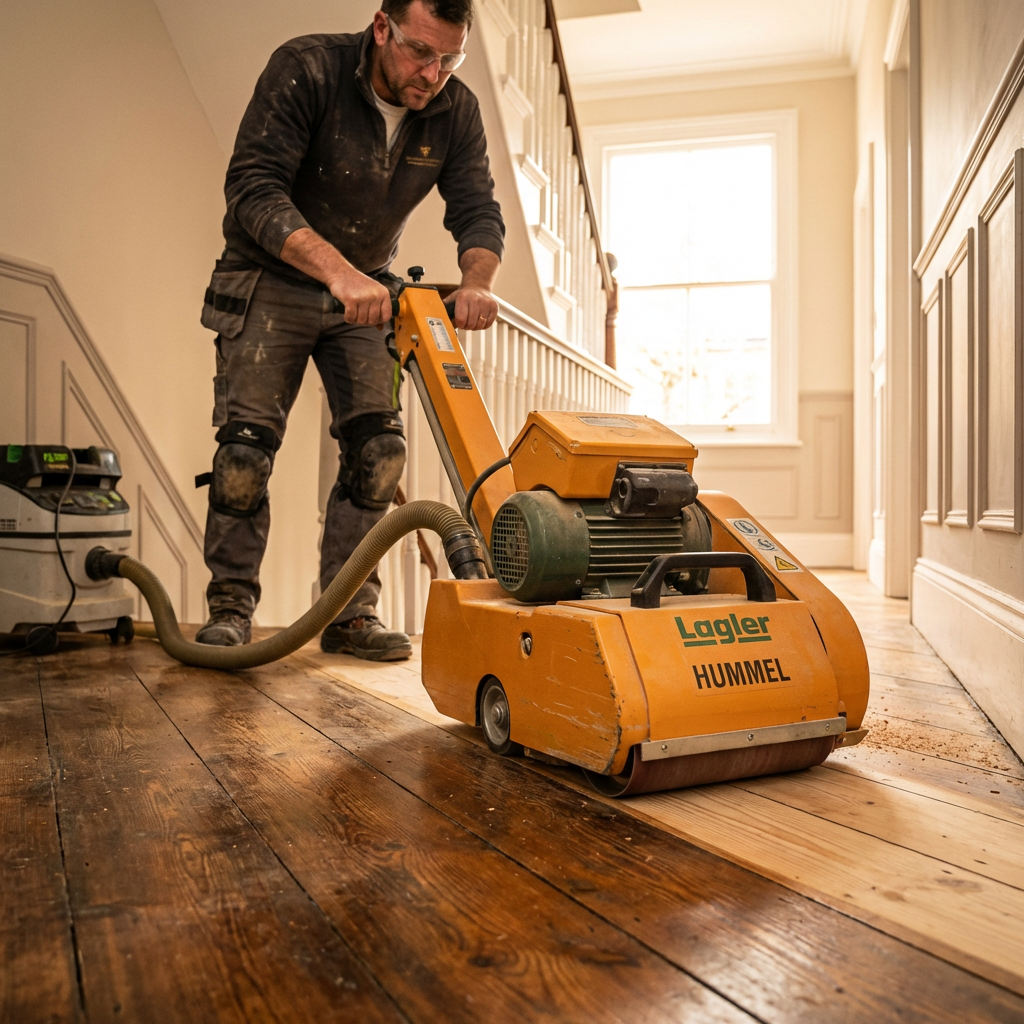
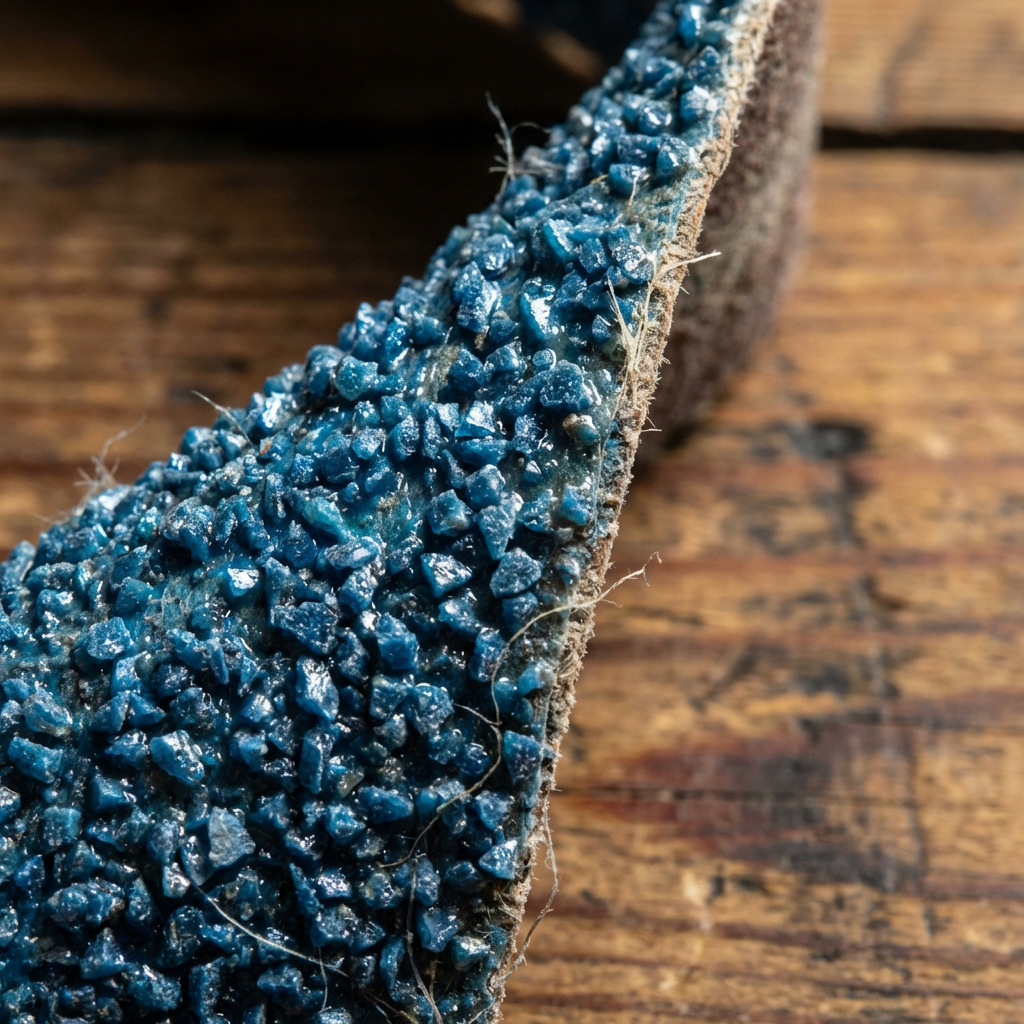
When our tradesmen approach a Victorian restoration, we don’t start with a gentle polish. These boards are often uneven and cupped. The ‘Pro-Tip’ for a flat finish is the 40-grit Zirconia first cut. Zirconia belts are significantly tougher than standard aluminium oxide; they stay sharper longer, preventing the ‘scorching’ of the timber that often happens when DIYers attempt this with underpowered rental machines. We sand at a 45-degree angle to the grain for the first pass to flatten the ‘cupping’ of the boards before moving to straight passes with 60, 80, and finally 120-grit for a silky finish.
Water Popping and Grain Raising
For heritage properties where a deeper stain is requested, we employ ‘water popping’. This involves misting the floor with distilled water to raise the grain. Because pine is naturally dense in some areas and porous in others, water popping ensures the stain penetrates evenly, preventing the ‘patchy’ look common in amateur pine restoration. This process is critical for achieving that rich, deep amber or walnut tone that complements period furniture.
The Curing Times: UK Humidity Considerations
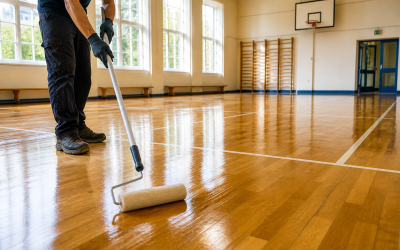
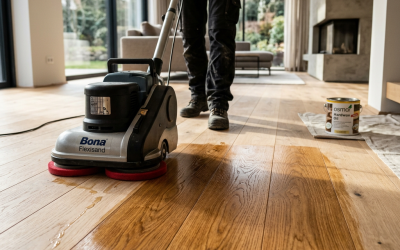
UK humidity can be a tradesman’s worst enemy. When applying a high-performance finish like Bona Traffic HD, we allow for longer curing times than the manufacturer’s ‘lab condition’ suggestions. In a typical London townhouse, we recommend 3-4 hours between coats. While Bona Traffic HD is ‘walkable’ in 8-12 hours, we advise a full 7 days before replacing heavy furniture or rugs to allow the cross-linking technology to fully harden against British dampness.
Conclusion: Investing in Your Heritage
Restoring your floorboards isn’t just a home improvement project; it’s an act of preservation. By choosing professional floor sanding and finishing, you ensure that these 150-year-old timbers survive for another century. Whether you are aiming for a modern matte look or a classic gloss, the secret lies in the preparation, the machinery, and the technical expertise of the specialist. Don’t let your heritage be hidden under carpet any longer.
For more information on how we handle specific timber types, check out our guide on wood floor sanding in Walthamstow or explore our hardwood floor refinishing services. If you’re looking to refresh your outdoor space too, see our latest post on deck sanding. For technical specifications on the finishes we use, visit the Bona official website.
Ready to transform your home? Visit our floor sanding Walthamstow homepage for a free quote today. Please note that all our professional services are subject to VAT at the standard UK rate.